How to Get Reimbursed for Physical Therapy: A Guide to Out-of-Network Benefits
Quality Care, Without the Red Tape: A Guide to Out-of-Network Reimbursement
At Zimmer Physical Therapy, we do things differently. You may have noticed that we operate as an out-of-network provider. While that might sound like extra paperwork, it is actually the secret to why our patients get better, faster.
By stepping outside the traditional insurance "factory" model, we aren't limited by "pre-approved" visit counts or narrow treatment lists dictated by an insurance adjuster. You get 100% of our focus, which leads to faster results in fewer visits.
The best part? You can still get paid back by your insurance company. Here is how it works.
What is a Superbill?
A Superbill is a specialized, detailed receipt that we provide after every session. It contains all the specific clinical codes (ICD-10 and CPT codes) that your insurance company needs to process a claim.
3 Simple Steps to Get Reimbursed
Pay at the time of service: We accept all major credit cards, as well as HSA (Health Savings Account) and FSA (Flexible Spending Account) cards.
Submit your Superbill: We’ll email you your Superbill. You can then upload it to your insurance provider’s member portal or use a streamlined app like Reimbursify.
Receive your check: Depending on your specific PPO plan, your insurance company will mail a reimbursement check directly to you. Many of our patients receive 50–80% reimbursement after meeting their out-of-network deductible.
What should I ask my insurance provider?
Before your first visit, we recommend calling your insurance company to confirm your benefits. Ask these three questions:
"Does my plan provide 'out-of-network' benefits for physical therapy?"
"What is my out-of-network deductible, and has it been met?"
"What is my 'co-insurance' percentage for out-of-network care?"
Focus on Healing, Not Billing
Our goal is to provide a transparent experience with no hidden "facility fees" or surprise bills arriving months later. By choosing an out-of-network model, you are investing in high-quality, human-centered care that puts your goals—not an insurance company’s bottom line—first.
Have questions about your specific plan? Contact us today and we can help you navigate the process so you can get back to doing what you love in Tahoe City, Truckee, or Incline Village.
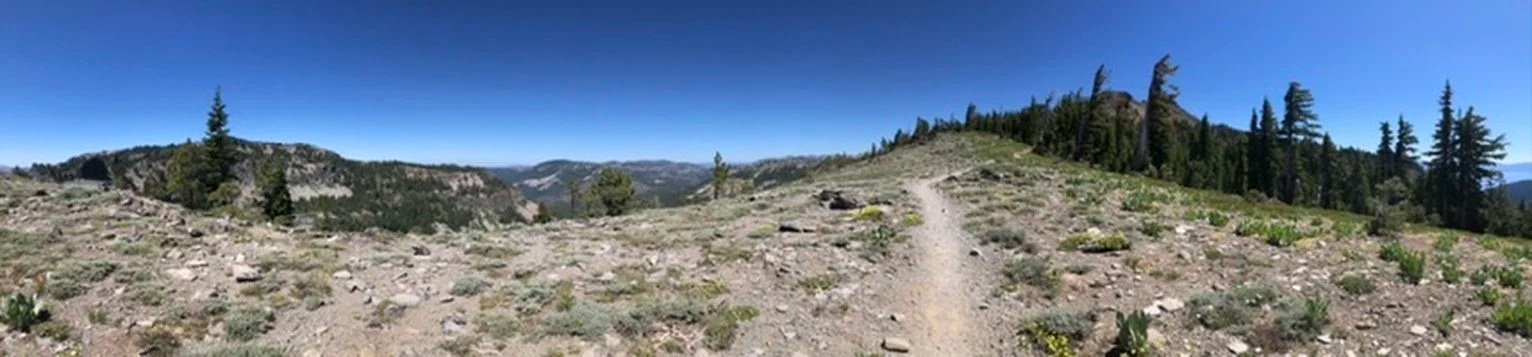
Trail Running: How to Beat Downhill Knee Pain This Summer
Struggling with knee pain running downhill in Tahoe? Learn how to strengthen your "brakes" and reclaim the trails with tips from a trail running specialist.

The snow is melting, the trail is calling, and the North Lake Tahoe terrain is ready for another season of vertical gain. But for many trail runners in Tahoe City and Truckee, the excitement of the "up" is often dampened by the dread of the "down."
If you find yourself winced at every descent or feeling a sharp, nagging ache under your kneecap as you head toward the trailhead, you aren’t alone. Knee pain running downhill—often referred to as "Runner’s Knee"—is one of the most common complaints we see at Zimmer Physical Therapy.
The good news? You don’t have to just "tough it out" or take the summer off. Here is how you can reclaim your descent.
Why Does It Hurt More on the Way Down?
When you run uphill, your muscles are working concentrically (shortening). When you run downhill, your quads and glutes have to work eccentrically (lengthening under tension) to act as brakes.
This puts significantly higher "peak loads" on the patellofemoral joint. If your muscles aren't prepared to handle that braking force, or if your mechanics are slightly off, the joint takes the hit.
3 Steps to Pain-Free Descents
1. Strengthen the "Brakes" Effective runner’s knee treatment isn’t just about stretching; it’s about capacity. To handle downhill forces, you need strong quads and hips.
The Move: Try "Step-Downs." Stand on a small step or curb, and slowly lower one heel to touch the ground while keeping your knee aligned over your toes. This mimics the exact "braking" motion of trail running.
2. Adjust Your Cadence When running downhill, many runners tend to overstride, landing heavily on their heels with a straight leg. This sends a shockwave directly into the knee.
The Fix: Take shorter, quicker steps. Increasing your step count (cadence) reduces the impact of each strike and keeps your center of gravity over your feet.
3. Don’t Neglect the Glutes If your hips are weak, your knee often collapses inward during a descent. A trail running specialist focuses heavily on lateral hip stability (the glute medius) to keep that knee tracking straight even on technical switchbacks.
When to See a Professional
If your knee pain lingers for days after a run, causes swelling, or makes you feel "unstable" on technical terrain, it’s time to stop guessing.
At Zimmer Physical Therapy, we don't just tell you to "rest and take ibuprofen." We use sport-specific movement analysis to see exactly how you move, then we use a combination of hands-on manual therapy and simple, effective exercises to get you back to the peaks.
Ready to fly down the trails again? Book a session today and let’s get you ready for summer.